How To Put A Computer Together
Click the little pictures to see the bigger pictures.

This page is for people that already have some idea how the computer works. Do not try this at home if you are not sure what we are talking about. The most important thing is to handle the electrical parts very carefully. Touching the motherboard or memory in the wrong way can short it out, rendering it useless. Always have the power chord plugged in but the computer turned off at the back when working on it. The center wire in the power plug is a ground. You want the system grounded with that ground when you are working on it. we also very strongly suggest that you buy an anti-static wrist strap from Radio Shack or any other source. Put the strap around your wrist and attach the alligator clip to the metal frame of the computer box while working on it. This should prevent static electricity which is a component killer. Do anything you can to prevent static such as not working on a floor with a rug.

Read your motherboard book and any instructions that come with all components carefully before starting. They will tell you exactly how and where to plug things in and any jumper settings that you need to make. Most plugs only plug in one way.


This is all of the parts unopened.


This is all of the parts out of their containers.


This is a close-up of the round fluorescent IDE cables.


The first thing you do is take the sides off of the case. You normally undo the screws on the back of the case that are holding the sides on. You can see the power supply installed in the upper left.


Every case comes with some kind of feet. In this case it is cheap little felt pads that stick to the bottom.


Next you pop out the correct plastic panel n the front and install the floppy drive. Note the five little wires laying there. These are for the pc speaker and all the buttons and led's on the front of the case. they get plugged in after the mother board is put in.


This is a close up of the floppy drive installed with the ide cable attached.


Now you must prepare the case for the motherboard. With the case you get a set of brass fitting screws, washers and regular screws. If you look at the motherboard you will see a series of probably at least six places that screws go thru. You match the holes in the motherboard to the holes in the case. Put the brass fitting screws in the proper holes in the case. You can see them outlined in red in my picture of my case.


Now we must prepare the motherboard. I have circled where i installed 2 sticks of memory. I have also circled where the chip is to be installed. When touching components with circuits, alway hold carefully by the edges. any static electricity will destroy the component. We advise buying an anti-static wrist strap from radio shack.


Here is a picture of the board with the chip properly snapped in.


Next, install the cpu cooling fan. Every fan and board is a little different.


Now plug the power line for the fan into the mother board.


The motherboard is now ready to go in the case. Take the motherboard and line up the plugs to the holes in the back of case where they will stick out through it. some of the knock out pieces will be already out and some will have to be removed. Remove the ones that need to be removed.


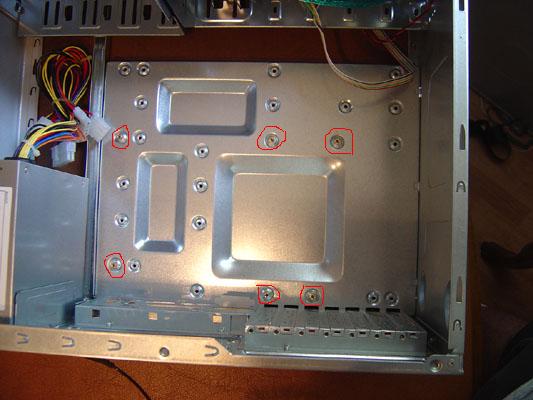
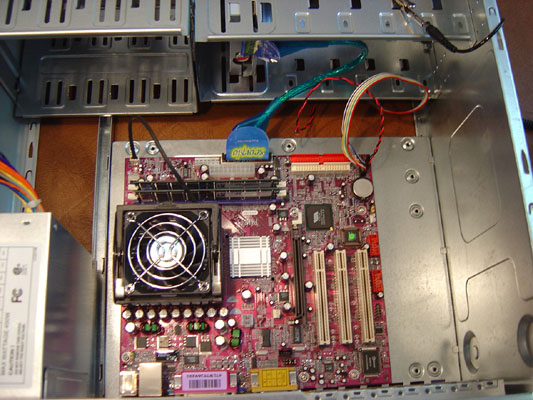
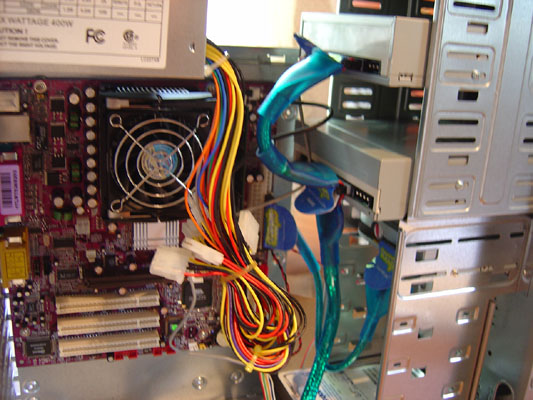
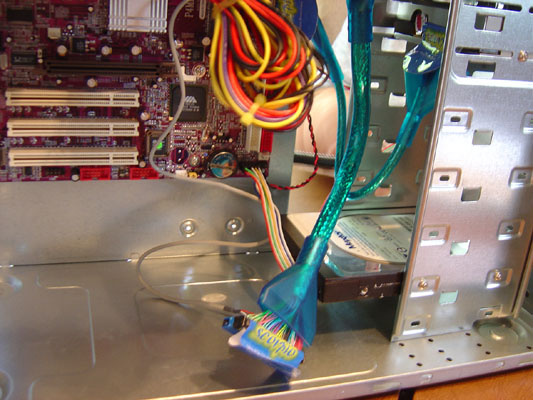
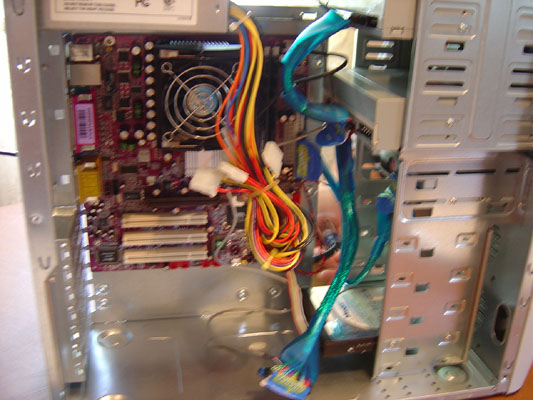
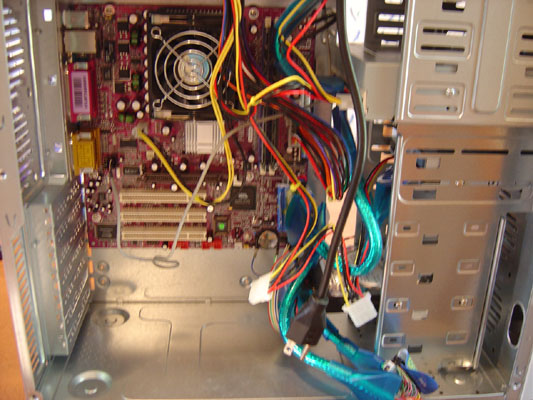
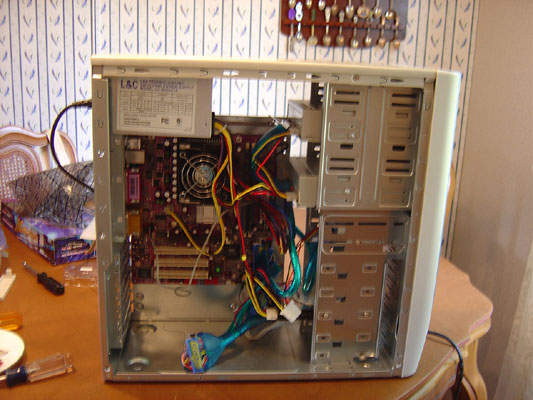
Now, carefully place the motherboard in the case so that the holes in the motherboard are positioned over the brass fittings that you previously put in and the plugs are pushed through the back of the case. If it all lines up, use the supplied washers and screws to tighten it down. At this point also install the little colored wires as seen in the upper right corner of the picture. These are for the pc speaker and all the buttons and led's on the front of the case.


Now pop out the appropriate front plastic panels and put your CD drives in thru the front. Plug the IDE cables to the drives and the other end to the mother board.


Now install your hard drive anyplace it will fit properly and attach the IDE cable.


Now we will work with the power wires that are coming out of the power supply.


The wire with the white flat coinnector goes to the floppy drive. A long and a square connector both go to the mother board. The remaining four connector plugs go the the hard and cd rom drives. It doesn't matter which goes where, they are all the same.


That's it. the box is done.


Now bring the box to where it goes and plug in the accessories. Install your operating system and you're ready to go.


Up and running.


Bill & Jackie's


Copyright © 2001 - 2005 Great Uncle Bill